Introduction
In today’s competitive digital landscape, capturing your audience’s attention has become increasingly difficult. One powerful way to make your website stand out is by using physics-based animations. These not only enhance user experience but also add an interactive and engaging element to your site. In this blog post, we’ll explore what physics animation is, how to implement it using Framer, and some real-world examples to inspire your next project.

Framer, a no-code web development tool, is perfect for designers who may not have extensive coding experience. It allows users to easily create physics-based animations, adding a dynamic and interactive touch to their websites. In this post, I’ll guide you step-by-step on how to use Framer’s Physic component to bring your designs to life with physics animations.
What is Physics Animation?
Physics animation refers to movements that simulate real-world behaviors such as gravity, friction, and attraction. By mimicking these natural forces, you can create smooth, fluid, and more realistic animations that enhance the overall user experience.
Why Use Physics Animation on Your Framer Website?
- Realistic Movement: Elements behave more naturally, as if they are part of the physical world.
- Playful Interactions: Physics-based animations encourage users to engage with elements in fun and interactive ways.
- Enhanced Engagement: By making your site feel more dynamic, physics animations can increase the time users spend on your website.
How to Create Physics Animations for Your Website
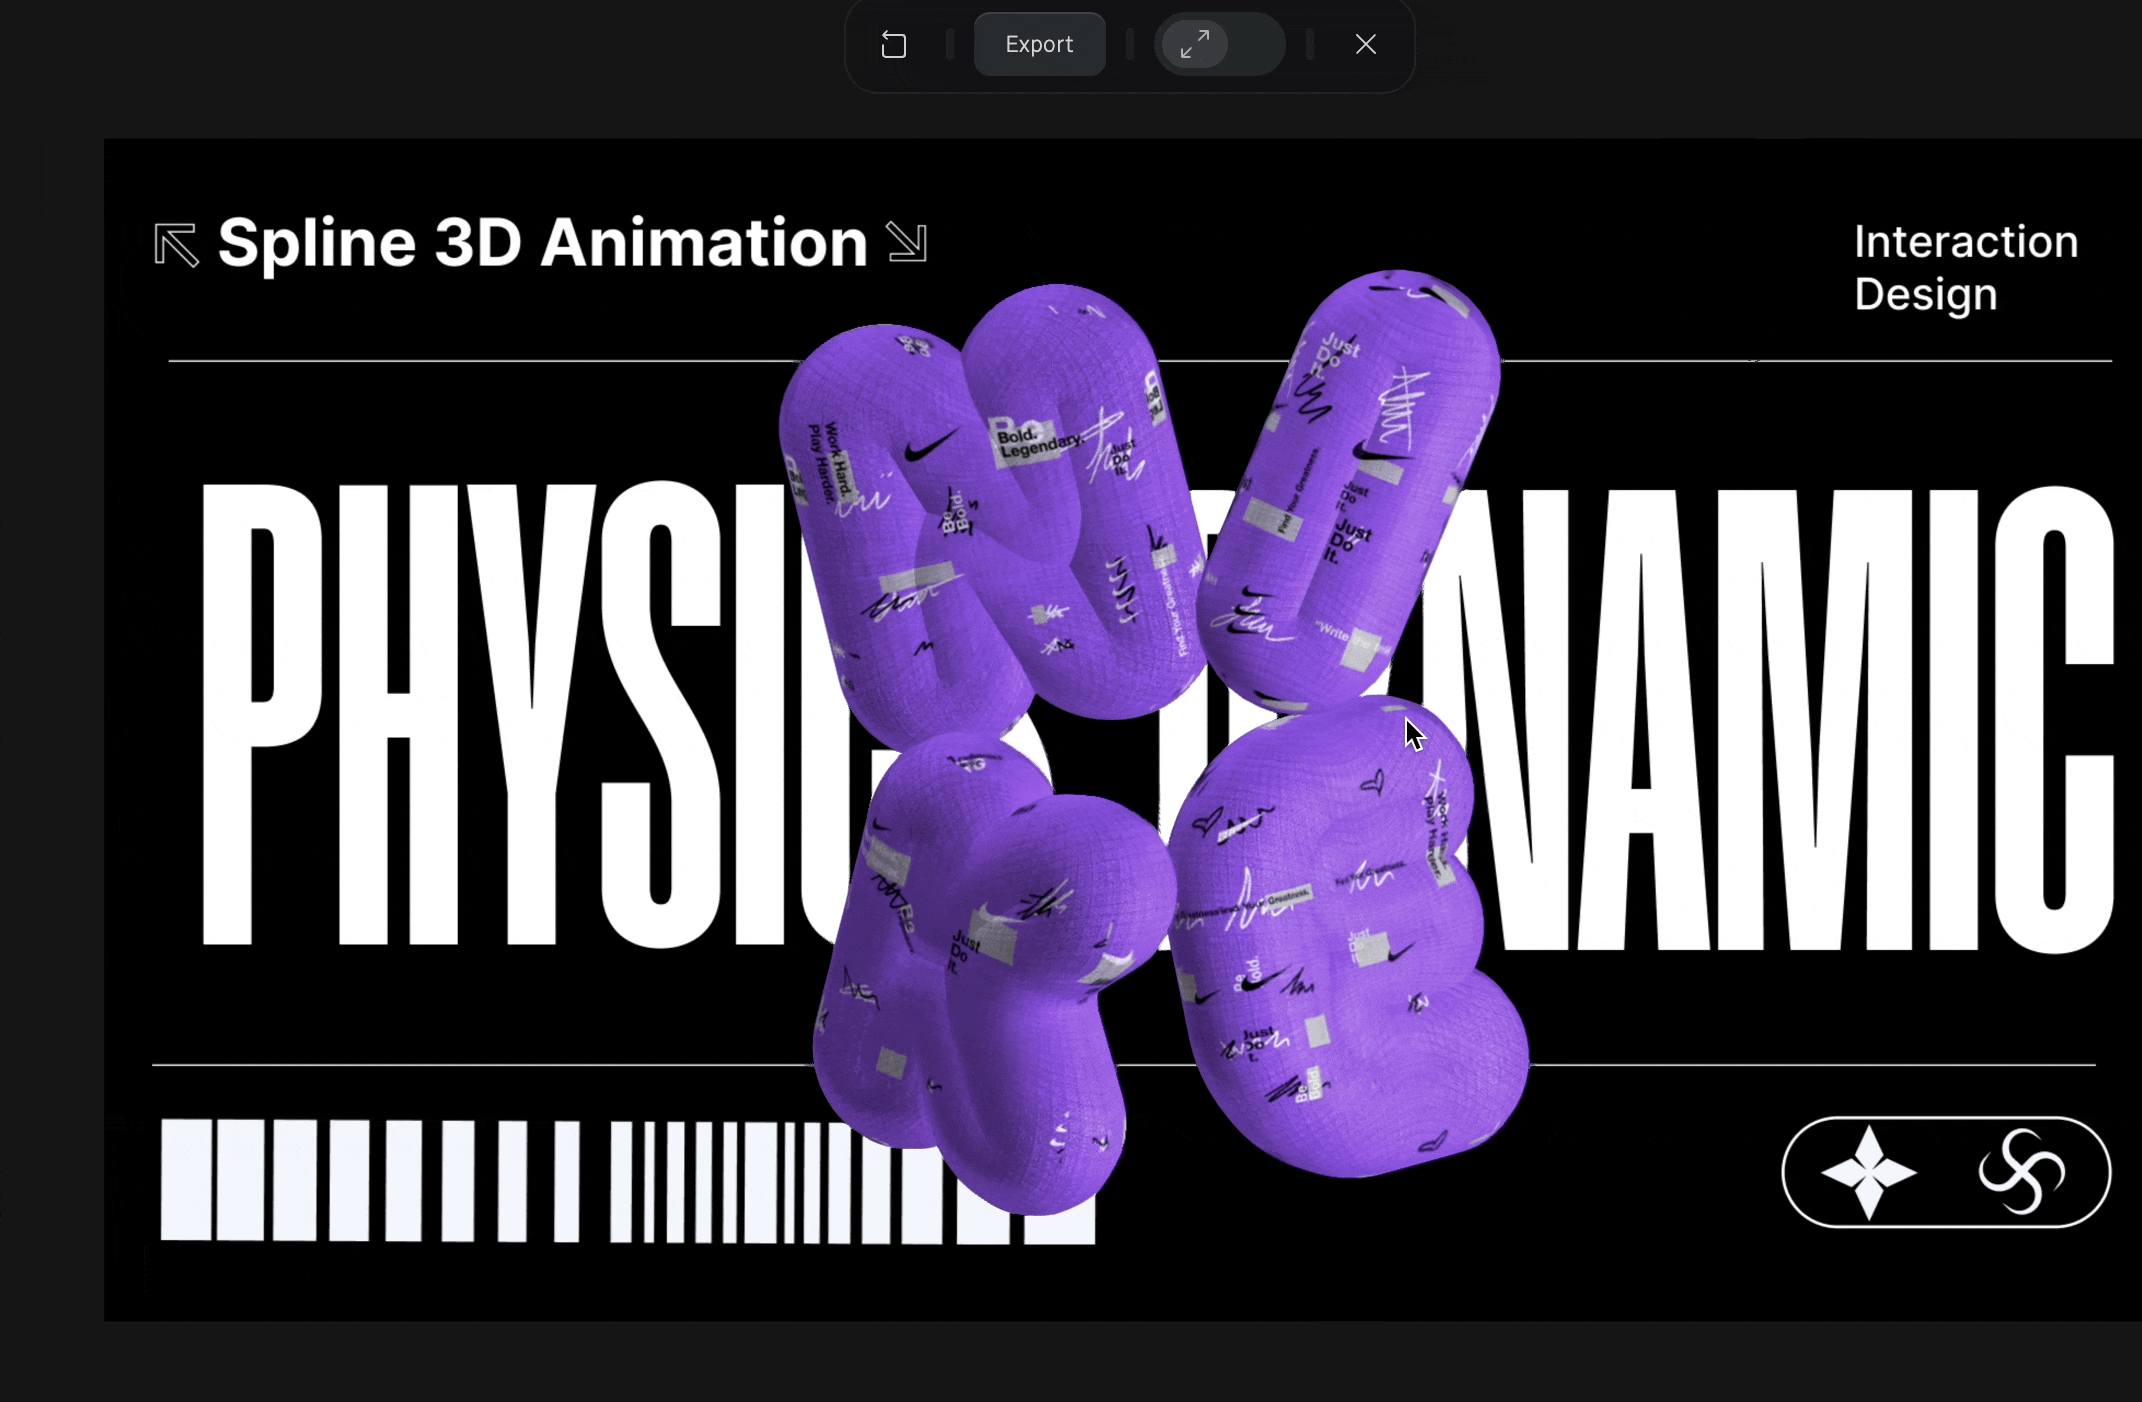
Using Spline:
Spline is a 3D design tool that allows you to create interactive 3D scenes, including physics animations. It’s easy to use, and once you’ve created your animation, you can embed the scene directly into your website.
Using Figma:
Figma also offers plugins for creating physics animations. Physics animation plugin allows you to add physics-based movements to your designs, though it’s a paid feature. This can be an excellent option for those already familiar with Figma’s ecosystem.
Using Framer’s Physic Components:
Framer makes it easy to add physics animations using its built-in components. Designers like Mike Wilson and Nandi have contributed to the Framer community by creating customizable physics components. With these, you can control settings like gravity, friction, and intensity to create highly personalized animations.
Setting Up the Physics Component in Framer
- Add a Frame: Start by creating a new frame in Framer, where your animation will take place.
- Insert Elements: Drag the Physic component into the frame, and connect it to the object you want to animate (e.g., buttons, images, or any other elements on your page).
- Adjust Properties: The Physic component has customizable properties like gravity (X and Y axes), friction, and intensity. Experiment with these settings to achieve the desired effect.
- Preview the Animation: Use Framer’s live preview feature to see your animation in action and make adjustments as necessary.
Use Cases for Physics Animations
- Bouncing Icons: Create fun interactions by making icons or buttons bounce when hovered over or clicked.
- Interactive Footers: Transform footer links into physics-driven objects that react to user interactions, creating a memorable final impression before visitors leave your site. Take inspiration from Concepts Capers, which smartly uses physics animation to enhance its interactive footer."
- Realistic Scrolling: Add subtle bounce or friction to scrolling animations for a more immersive browsing experience.
Final Thoughts
Physics-based animations in Framer provide a unique way to make your website feel more interactive and alive. Whether you’re designing a playful portfolio or a professional showcase, incorporating these animations can set your design apart and keep users engaged. With the right approach, you can transform your website into an experience that delights visitors and encourages them to stay longer.


.jpg)