Framer’s 3D Transform tool is a game-changer for crafting dynamic 3D animations and interactions. In this guide, I'll show you how to design a 3D box rotation animation step by step. By the end of this tutorial, you'll have a fully interactive 3D rotating box synced to a smooth scrolling effect. Let’s get started!
This 3D box rotation animation is inspired by JP's incredible work. Check it out here.
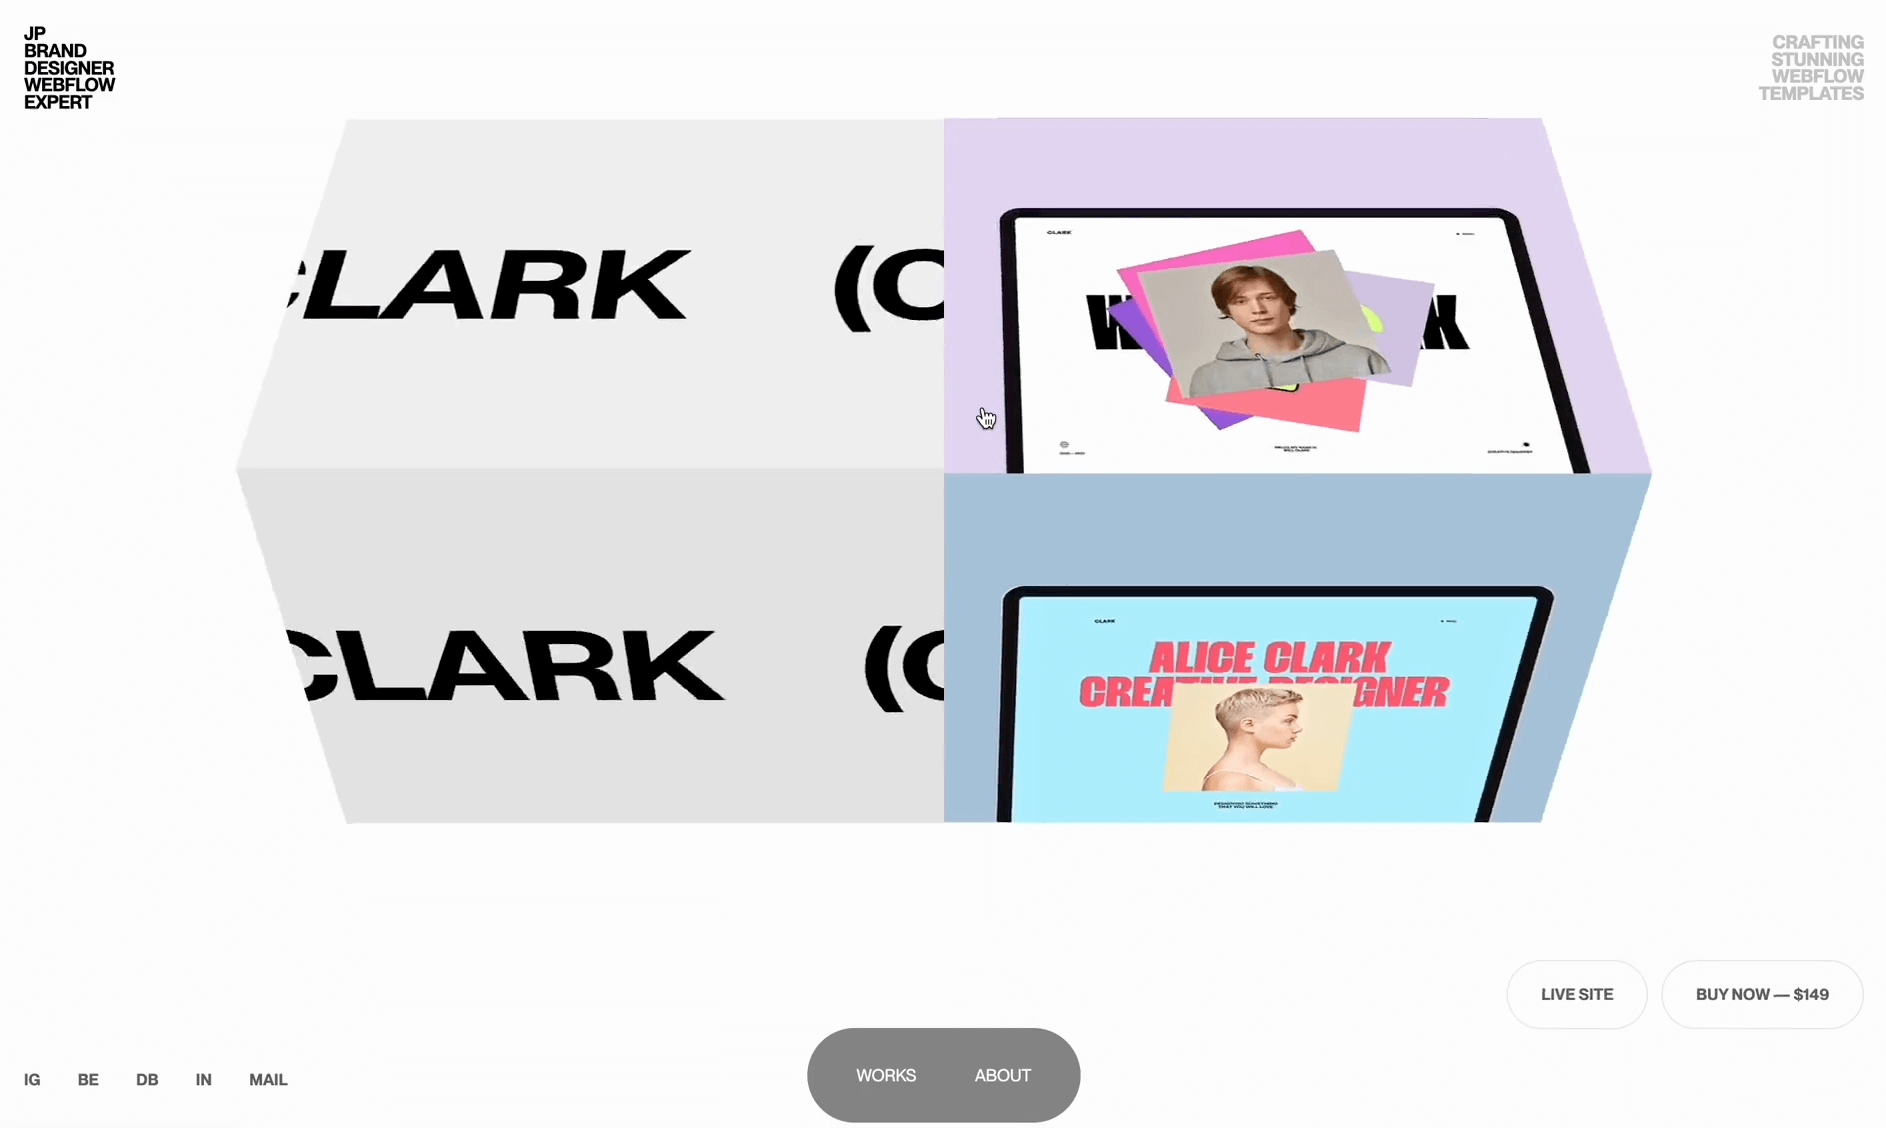

Why 3D Transforms?
- Enhanced Depth: Add perspective to give designs a more realistic look.
- Dynamic Animations: Rotate and skew elements for interactive effects.
- User Engagement: Create visually stunning and interactive components that captivate your audience.
Step 1: Build the 3D Box
- Create the Box Components
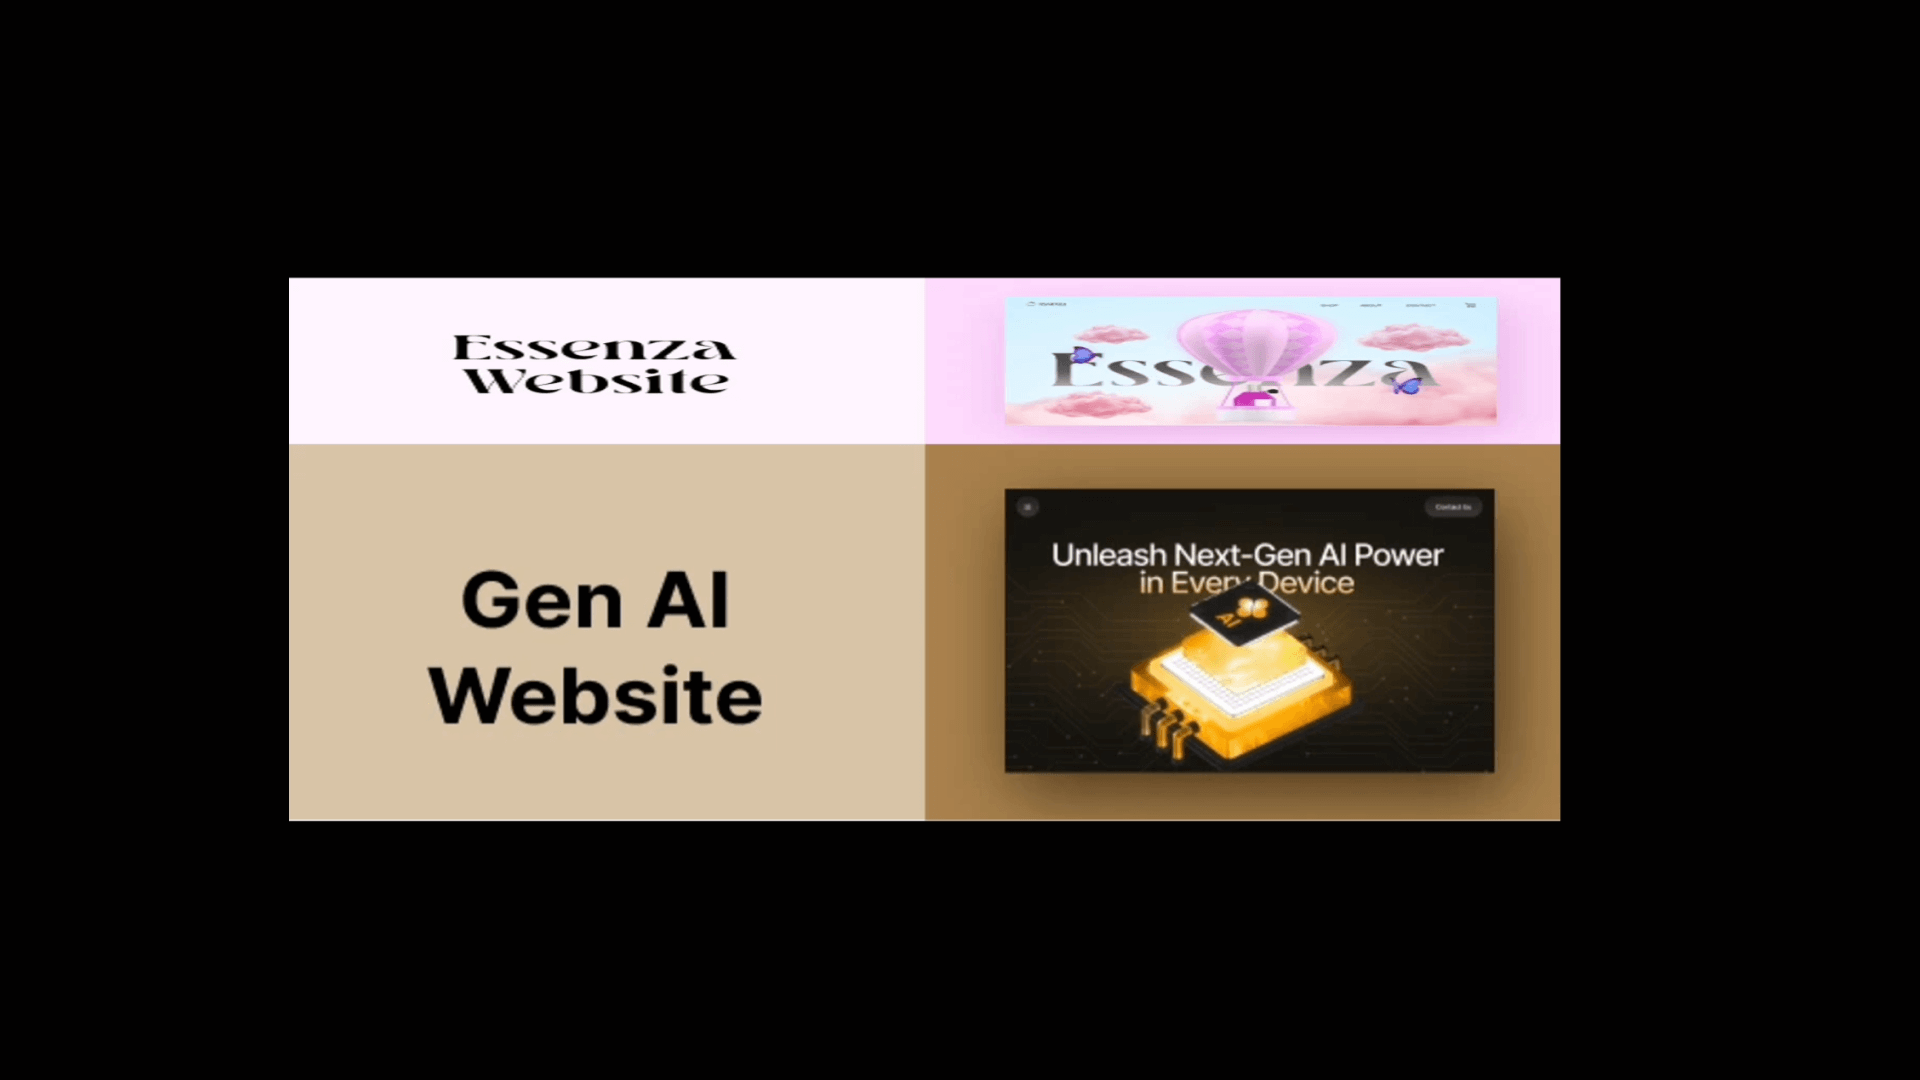
- Start by building a 3D box. The box will consist of 4 cards, representing the front, back, top, and bottom sides.
- Inside a main container, include these 4 sides.
- Adjust the 3D Properties
- Use the 3D Transform feature to adjust the rotation of each side along the X, Y, and Z axes to position them correctly.
- Fine-tune the Origin and Depth properties in the Transform panel to align the sides properly and achieve a perfect 3D box structure.
Step 2: Turn the 3D Box into a Component
- Convert to Component
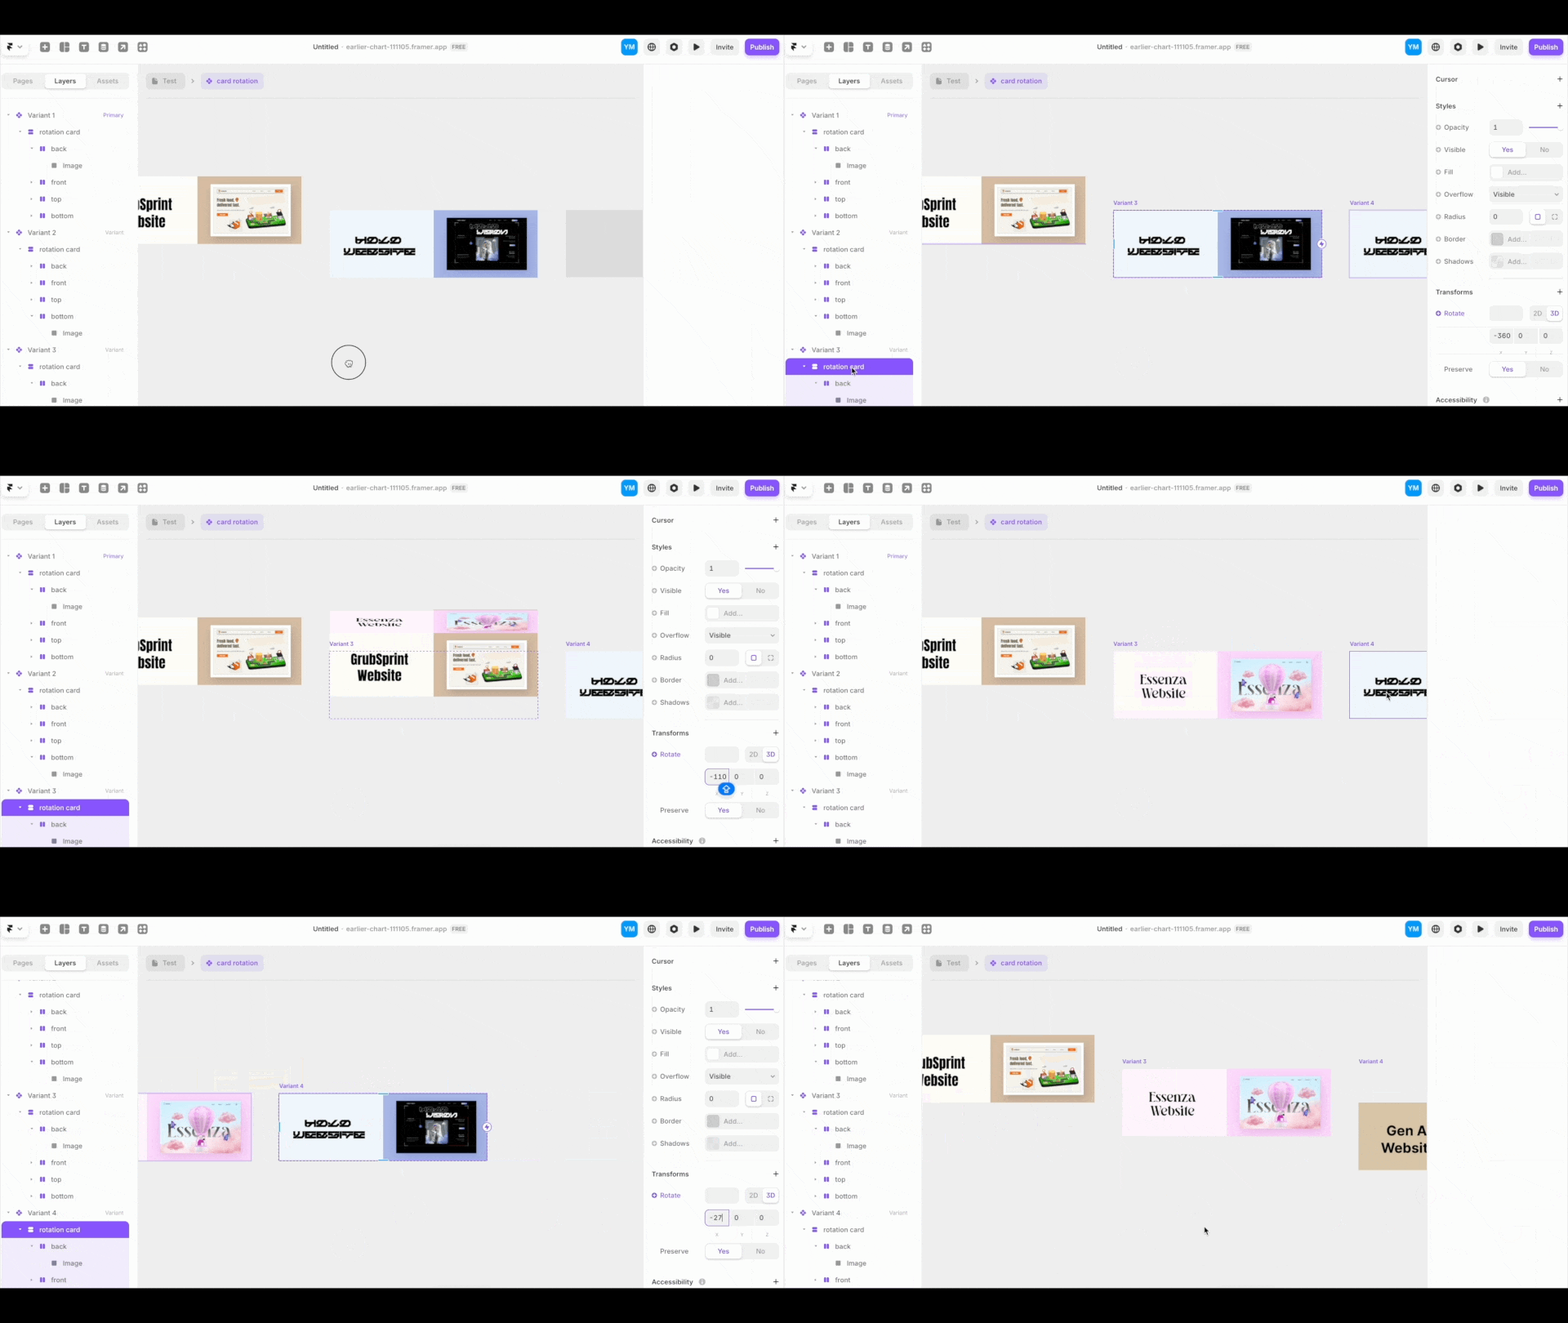
- Once your 3D box is built, turn it into a Component. This allows you to create Variants for different states of the animation.
- Add Variants for Animation
- Create 4 Variants within the component. Each variant should represent a different rotation of the box (e.g., a 90° rotation along the X-axis).
- Tip: Ensure that the overflow setting is set to visible in each variant so that all sides of the box are fully visible.
- Set Transition Animations
- Use the Transition panel to define animations between variants. Adjust the Spring Animation settings to control the speed and smoothness of the rotation.
Step 3: Set Up the Animation on the Page
- Create a Scrolling Section
- Design a page with a scrollable section. Set the height of the scrollable area to 400vh to ensure there’s enough room for the animation.
- Add a sticky container in the middle of this section with a height of 100vh and set its position to sticky.
- Add the 3D Box Component in the sticky container.
- Place the 3D box component inside the sticky container. This ensures the box stays in place while the page scrolls.
- Define Scroll Animation
- To make the animation work, set the overflow of all sections to visible. This is crucial for smooth sticky animations.
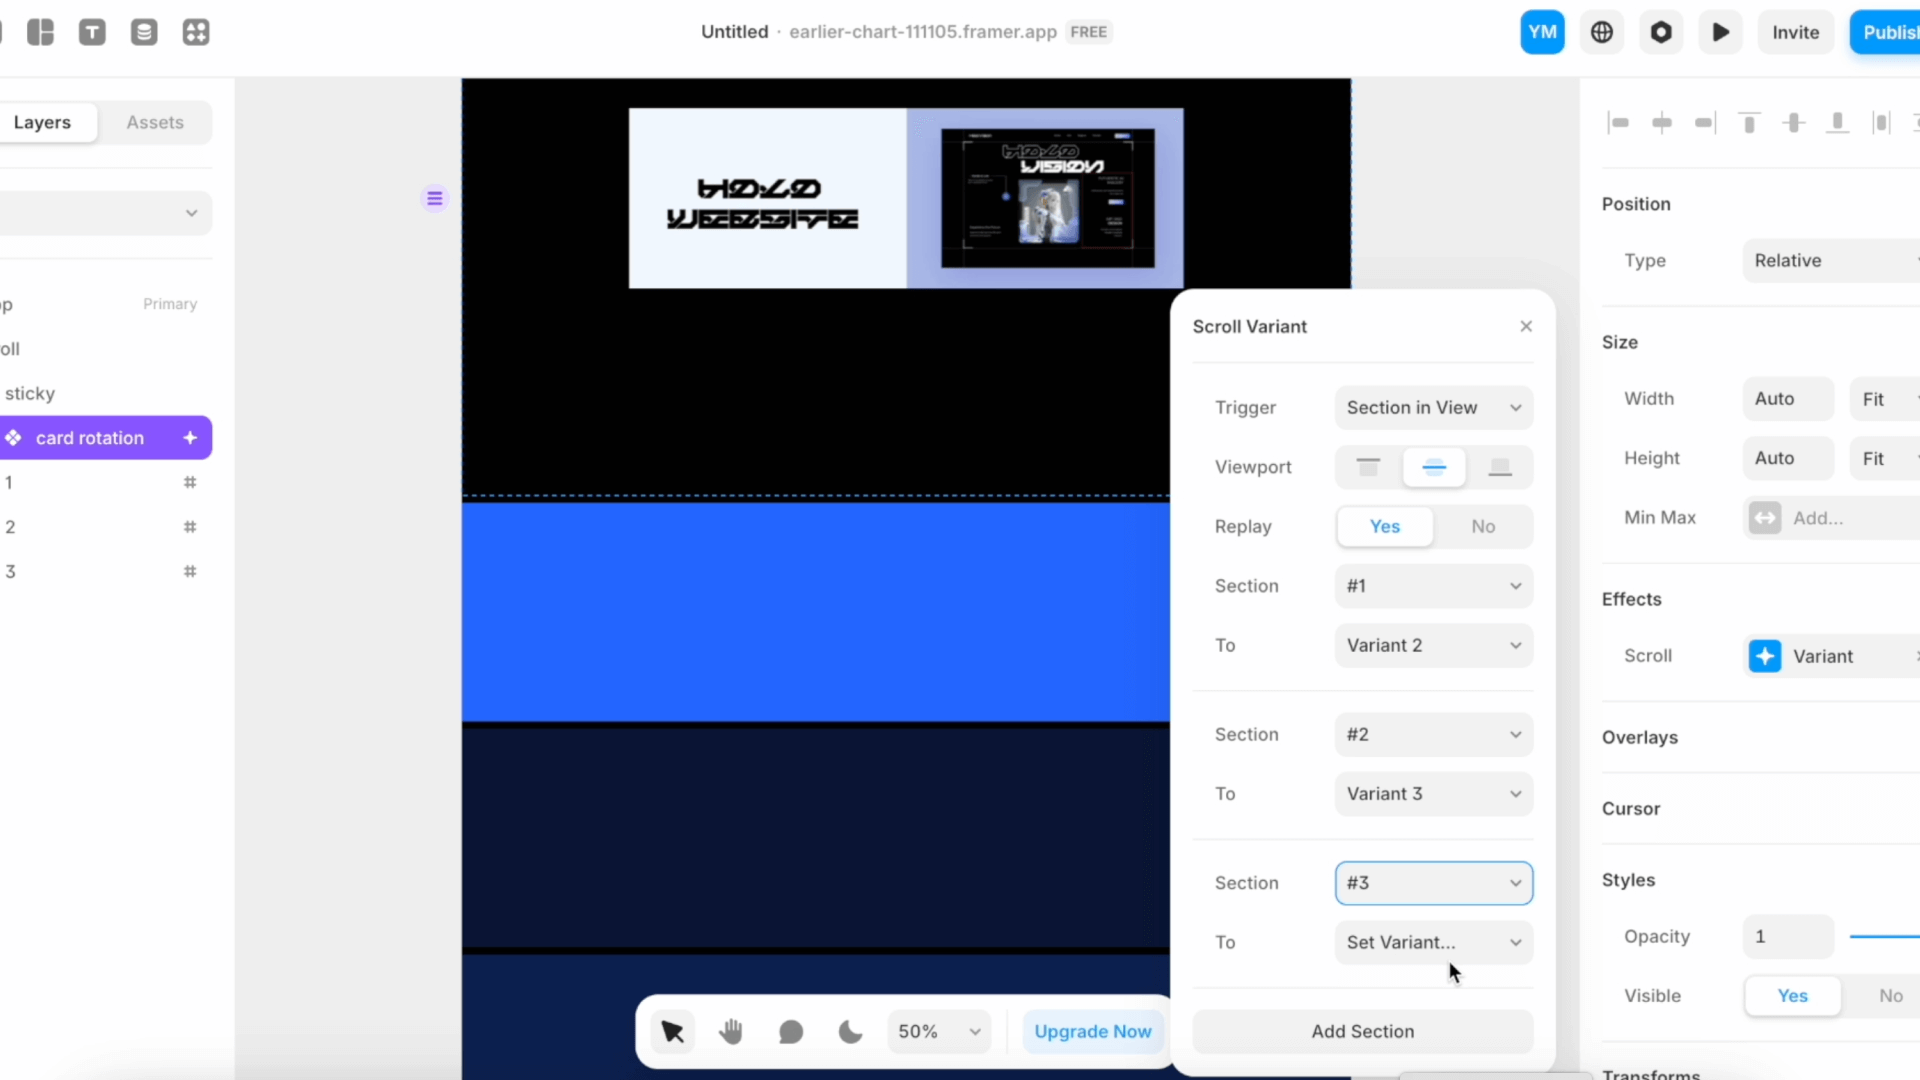
- Add 3 frames to define sections where the animation will trigger.
- Animate with Scrolling Variants
- Use the Effects Panel to link each frame (or section) with a corresponding variant of the 3D box.
- Set up the animation so that when a section comes into view, the 3D box rotates to the variant defined for that section.
Step 4: Preview and Refine
- Once all the animations are set up, preview your design to see the 3D box rotation in action.
- Fine-tune the animation settings, spring transitions, and variant properties to ensure a smooth and visually appealing effect.
Final Thoughts
The 3D Transform feature in Framer opens up exciting opportunities for creative and interactive designs. By combining 3D transformations, variants, and scrolling animations, you can create immersive effects like this 3D box rotation. Experiment with different perspectives, transitions, and effects to take your designs to the next level.
Now it’s your turn—try this tutorial and share your results. Let’s keep pushing the boundaries of 3D design in Framer!


.jpg)
